irenethompson80
In this guide, we will discuss how you can turn your common type title text into Iced looking graphics. If your flyer printing title design or catalog cover needs something “cool” for its theme, then this might just be the right trick for you.
irenethompson80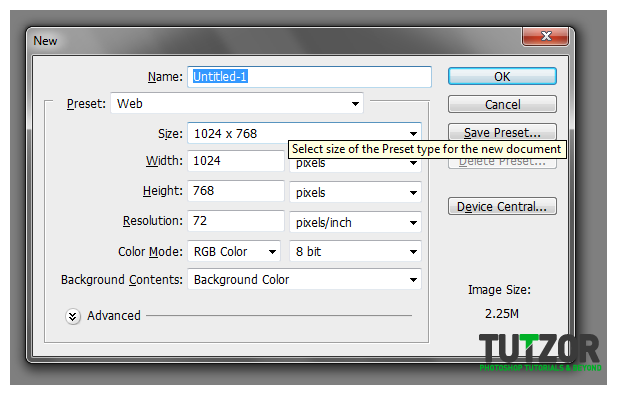 irenethompson80
 irenethompson80
 irenethompson80
 irenethompson80
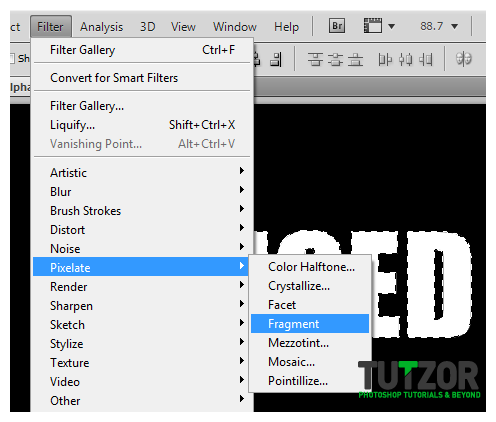 irenethompson80
 irenethompson80
 irenethompson80
 irenethompson80
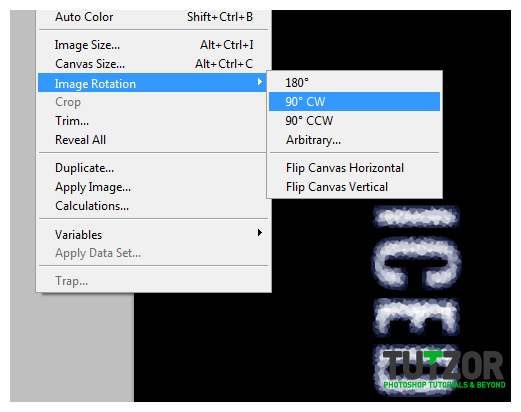 irenethompson80
 irenethompson80
 irenethompson80
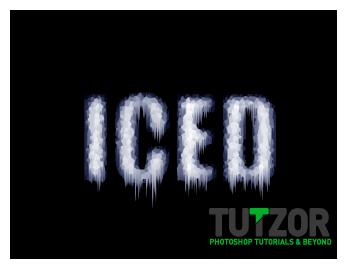 irenethompson80
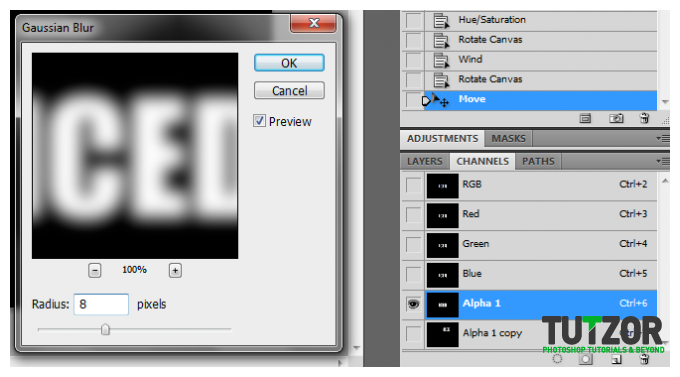 irenethompson80
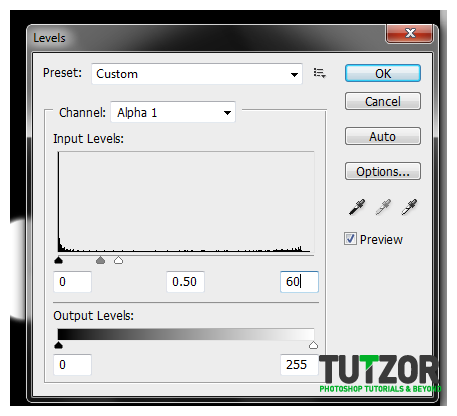 irenethompson80
 irenethompson80
 irenethompson80
 irenethompson80
 irenethompson80
 irenethompson80
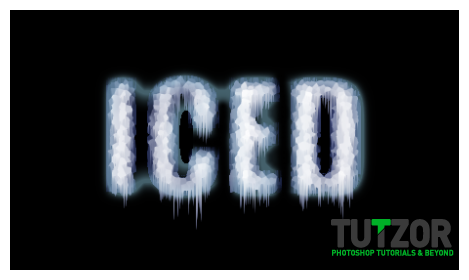
Copyright© 2012 Tutzor All Rights Reserved | Developed by: Iceous Design